How to bake bread: follow a recipe and then do it again and again until you start making good bread. The specific recipe doesn’t really matter as much as just deciding you’re going to bake bread and then keeping at it.
My approach is profoundly influenced by my friend and neighbor, Amy Halloran (subscribe to her newsletter, Dear Bread!). She encouraged me to pick a simple recipe and then make it my own. Amy gifted me Paula Marcoux’s Cooking with Fire, a book that isn’t specifically about bread or baking, but it has a basic whole wheat sourdough recipe that I’ve adapted over the last 7 years.
If you’re baking with sourdough, the first step will be to find some starter. Ask someone you know for some of theirs or look for local bakers in your area. Baking is a social activity and you’ll also want a source of advice as you learn to bake.
Whole Wheat and Rye Sourdough recipe
Here is my sourdough recipe, split into sections. I start this process in the morning expecting to have my dough made at the end of the day. Then I let the dough sit in the refrigerator for one day and bake it on the third day.
Equipment
Aside from the Dutch oven, I don’t use a lot of baking-specific gear. I try to make my bread with what I have on hand. I use a stand mixer, but it’s not essential.
- Two identical jars for your starter (I like the tapered shape of Weck’s mold jars)
- A kitchen scale
- Stand mixer (optional)
- Cast iron Dutch oven
- Parchment paper
- A large bowl
- A large plastic bag
Ingredients
- 400g bread flour
- 119g whole wheat flour
- 119g whole rye flour
- 555g warm water
- 200g sourdough starter
- 3 tsp salt
Feeding the starter
I use a no-discard feeding process that I learned from Amy. I’m assuming you have a jar with about 200g of sourdough starter and another identical empty jar without any starter in it. You don’t need exactly 200g (I dip into my starter jar to make waffles with), you can adjust the measurements to make up for a smaller starting amount.
- Place your empty jar (no lid) on the scale and tare it.
- Replace it with the jar that has starter in it, the scale will tell you how much starter you have. (This taring step is why having identical jars is helpful.)
- Switch the jars again, with the empty one on the scale (it should read 0g), and then split the starter equally between the two jars.
- Add equal amounts whole rye flour and water to each jar, bringing them each to 150g. Stir them well.
- Wait for 6 hours, you should start to see bubbles forming.
- Add 25g of rye flour and 25g of water to each jar and stir well, bringing each to 200g of starter.
- Wait another 6 hours, you should see even more bubbles as the starter becomes ready to bake with.
- Put one jar into the refrigerator for next time and the other jar is what you’ll add to your dough.
Making the dough
- Mix the flours and water in a medium sized bowl (I use the bowl that attaches to my stand mixer).
- Cover and let it sit for 30 minutes.
- Add the other ingredients and mix. Knead by hand for 8 minutes, or on a stand mixer with a bread hook for 3 minutes on the lowest speed, then 3 minutes on the next speed.
- Cover the bowl again and put it into the refrigerator.
I normally wait one day before baking to let the dough get a little more sour, but will adjust the process if we’re out of bread and I need to restock.
Baking the loaf
- Stretch and fold the dough 4 times:
- Prepare a large surface with flour.
- Plop the dough out of your bowl and spread it into an 18in x 18in square.
- Fold the dough horizontally in thirds, like a letter, folding the top and bottom thirds into the middle.
- Spread it back out into a square and then fold the dough vertically, bringing the left and right thirds into the middle.
- Gather up the dough into the bowl, cover it and let it rest for 30 minutes.
- Lightly knead the dough a few times, without picking up too much flour. Dust the surface with flour and form the dough into a ball by pulling the outer edges into the bottom, without tearing the surface.
- Lay out a cloth and cover it generously with flour. Rub the flour into the cloth and then settle it into a medium sized basket or bowl, rubbing any bare parts with more flour.
- Add the ball of dough into the cloth-covered basket, cover it by folding the cloth’s edges over the top. Put the basket into a large plastic bag, and let it sit in a warm spot for 1.5 hours.
- Pre-heat your oven to 400°F with the dutch oven inside.
- Once the oven is pre-heated, take out the Dutch oven and line it with parchment paper.
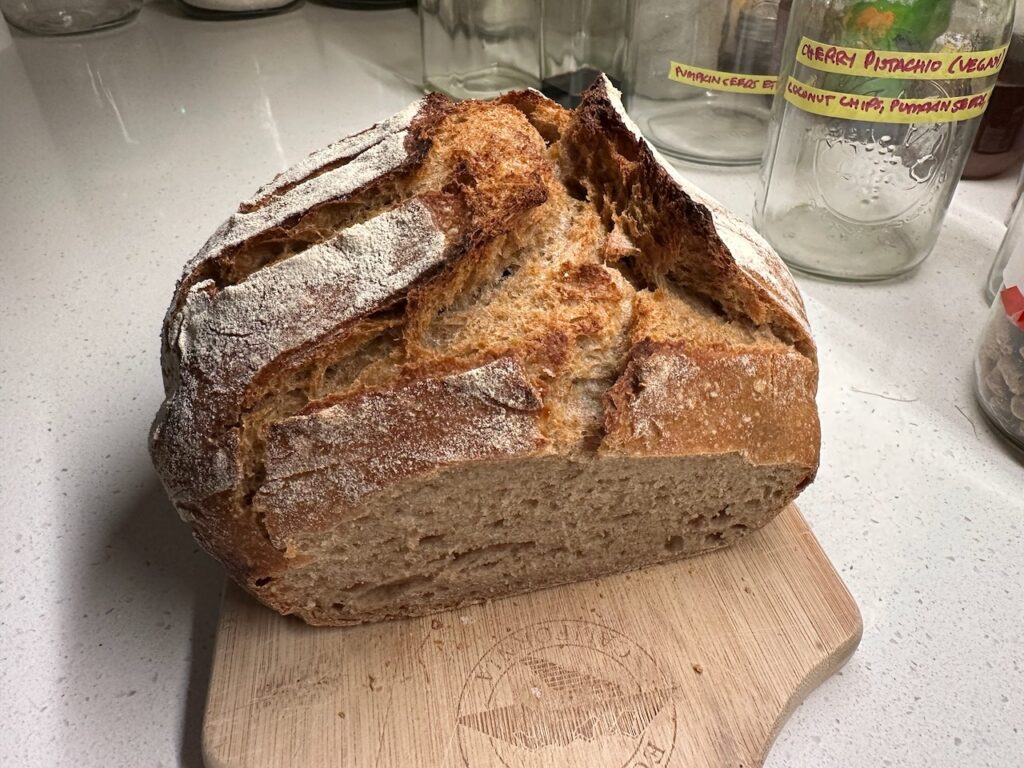
- Drop in the dough. Score the loaf along the top with a knife to allow it to rise more easily.
- Bake for 40 minutes with the lid on.
- Remove the lid and bake for 20 more minutes.
- Remove the loaf and let it cool on a rack for an hour.
Once it cools, I recommend cutting off a small slice trying it out with some butter.
I am not an adventurous baker, I bake the same sourdough loaf about once each week. It’s become a staple in our household and I’m pleased that Rosie (2yo) and Ginnie (a picky 7yo) are both enthusiastic bread eaters, despite the recipe having a fair amount of whole grain in it. It’s a kind of rustic sourdough boule with a pretty substantial crust to it, not what you might think of as kid-friendly.

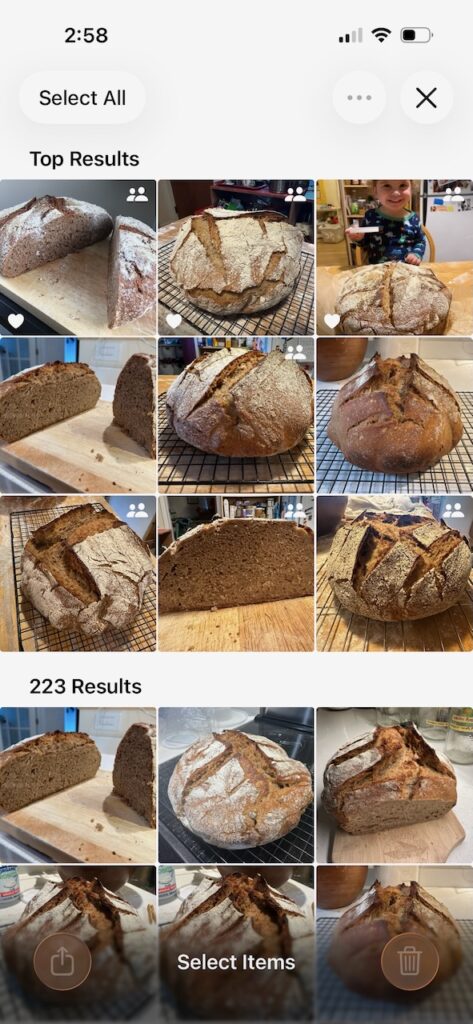
Ingredients-wise it is still mostly white bread flour but with enough whole wheat and rye flour to justify calling it “whole wheat sourdough.” I adjust the process a little bit each time, sometimes intentionally and other times due to circumstances out of my control. After hundreds of loaves I’ve gotten to where I don’t refer to a written recipe. And the resulting bread has gotten better through practice. Bake, eat, repeat.
For my first few bakes I followed the recipe from the cookbook as closely as I could and then I started adapting it. I scaled it up, converted the measurements from cups to grams, and tweaked the flour mix to include equal parts rye and whole wheat. Through repetition I’ve gotten better at each step, each maneuver, in the process involved in making bread, and have learned how temperature and humidity impact the process.
Sometimes the results are less than stellar and sometimes it’s hard to find time to bake. The key for me has been not to worry about any individual bake and to fit baking into my schedule even if it means letting a step go longer than intended, or just tossing the dough into the fridge until I can pick things up where I left off.
Baking with sourdough is, at its core, about keeping a colony of yeast punctuated by opportunities to make bread with it. The more consistently you bake, the happier your starter will be. Having a staple, weekly loaf has made for lively starter, so if you’re only baking sporadically you may want to feed the starter more times before you bake.
A recent recipe adjustment
I recently came to realize that my new oven keeps the heat in more efficiently and so the part of my process where I dropped the temperature partway through the bake didn’t end up cooling down as fast compared to my old oven and the crust was coming out crunchier than I’d like.
Over the course of 5 loaves I adjusted my baking temperatures to account for our new, more efficient oven:
- 40min at 450°F then 20min at 400°F
- 20min at 450°F, 40min at 400°F
- 20min at 420°F, 40min at 400°F
- 20min at 410°F, 40min at 400°F
- 60min at 400°F
The starter I’m using is my second one, replacing a San Francisco derived one that started smelling foul and was making unpleasant bread. Amy shared some of hers with me years ago to replace my funky one, and it’s been doing great. At one point she needed some to bake with after returning home from a trip and it was satisfying to have some starter to offer back until hers were back in shape.
Why do I like baking? Mostly because I like eating fresh bread. It also feels good to work on something and get better at it, and to take care of a sourdough starter. And I’m grateful that my kids eat the same bread I like to eat.